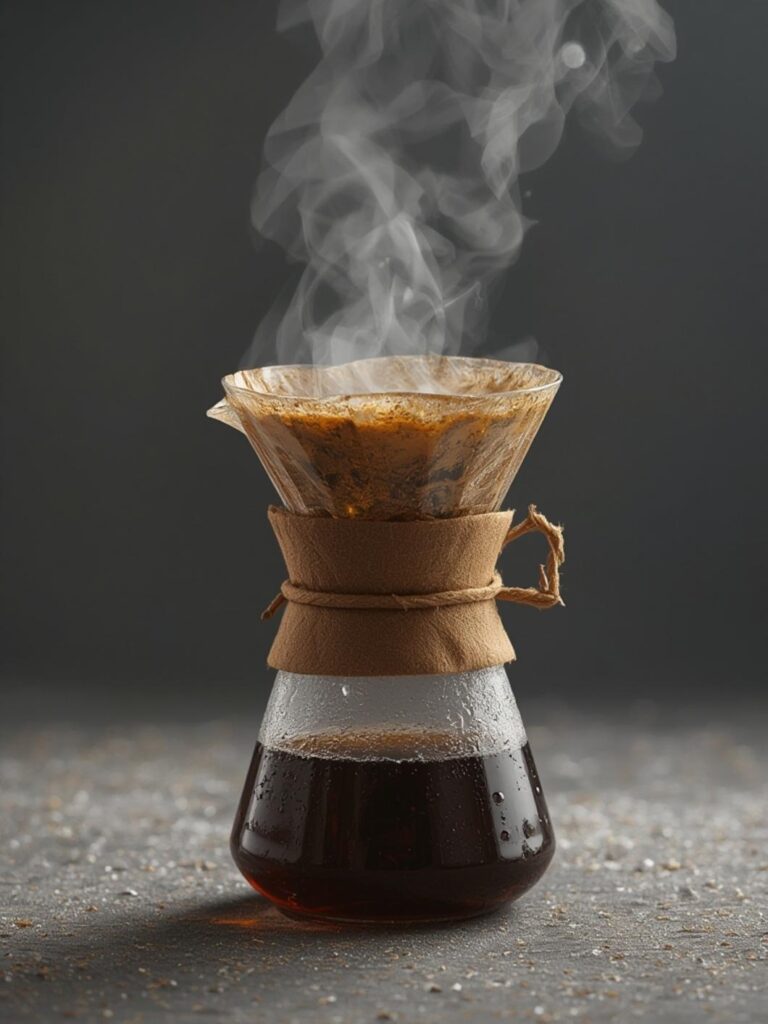
Ultimate Guide to How to Pour Over Coffee in 5 Steps
Introduction
Have you ever wondered why coffee shop pour over tastes so incredibly smooth and flavorful compared to your home brew? The secret isn’t magic—it’s technique, patience, and understanding the fundamentals of manual brewing. Learning how to pour over coffee transforms your morning ritual from mundane to extraordinary. This brewing method gives you complete control over extraction, temperature, and timing, resulting in a cleaner, more nuanced cup than automatic drip machines can produce.
Table of Contents
Mastering the pour over coffee technique doesn’t require professional barista training. With the right equipment, quality beans, and our step-by-step guidance, you’ll brew café-quality coffee in your own kitchen within days.
Materials & Supplies
Essential Equipment:
– Pour over dripper (Hario V60, Chemex, or Kalita Wave)
– Paper or metal filters (matched to your dripper size)
– Gooseneck kettle (electric or stovetop for precise pouring)
– Coffee scale (accurate to 0.1 grams)
– Burr grinder (manual or electric for consistent grounds)
– Timer (smartphone works perfectly)
– Carafe or mug (heat-resistant glass preferred)
Coffee Ingredients:
– Freshly roasted whole beans (ideally roasted within 2-4 weeks)
– Filtered water (avoid distilled or heavily chlorinated tap water)
Optional Accessories:
– Thermometer for water temperature monitoring
– Coffee storage canister with one-way valve
– Cupping spoon for tasting
Each item serves a specific purpose. The gooseneck kettle provides controlled water flow, while the burr grinder ensures uniform particle size for even extraction.
—
Timing / Coffee Schedule
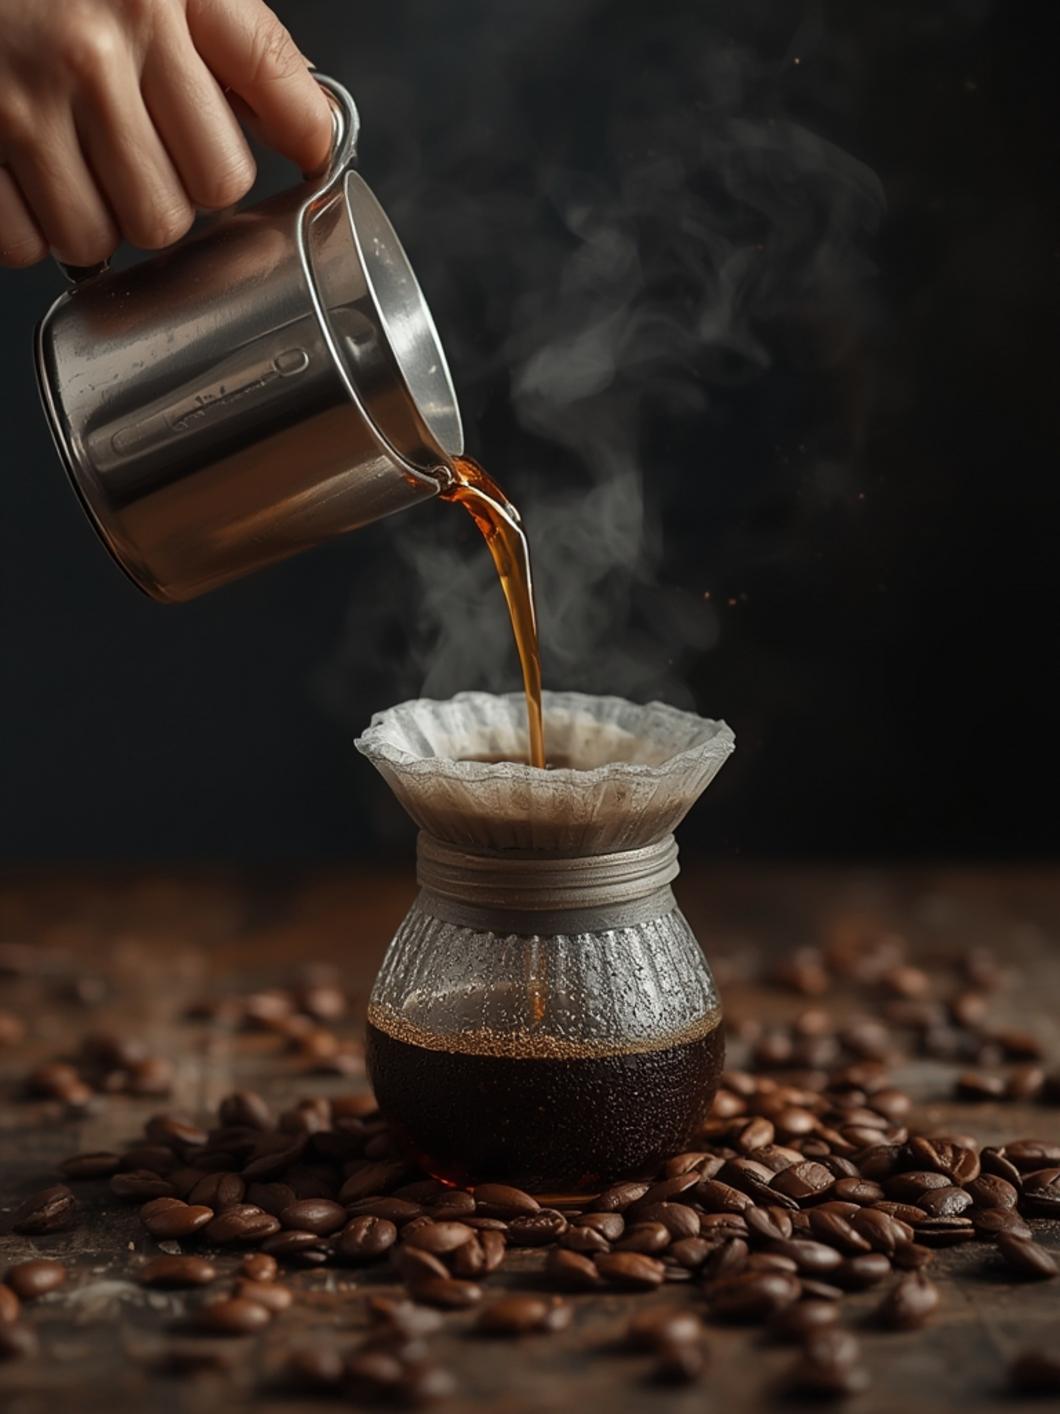
Preparation Time: 5-7 minutes
This includes heating water, grinding beans, and setting up your station.
Brewing Duration: 3-4 minutes
The total brew time significantly affects flavor. Under 2:30 produces sour, under-extracted coffee. Over 4:30 results in bitter, over-extracted brews.
Serving Time: Immediate
Pour over coffee tastes best fresh. Serve within 15 minutes of brewing for optimal flavor and temperature.
Morning Routine Tip: Start heating water first, then grind beans while waiting. This parallel approach saves precious morning minutes.
—
Step-by-Step Instructions
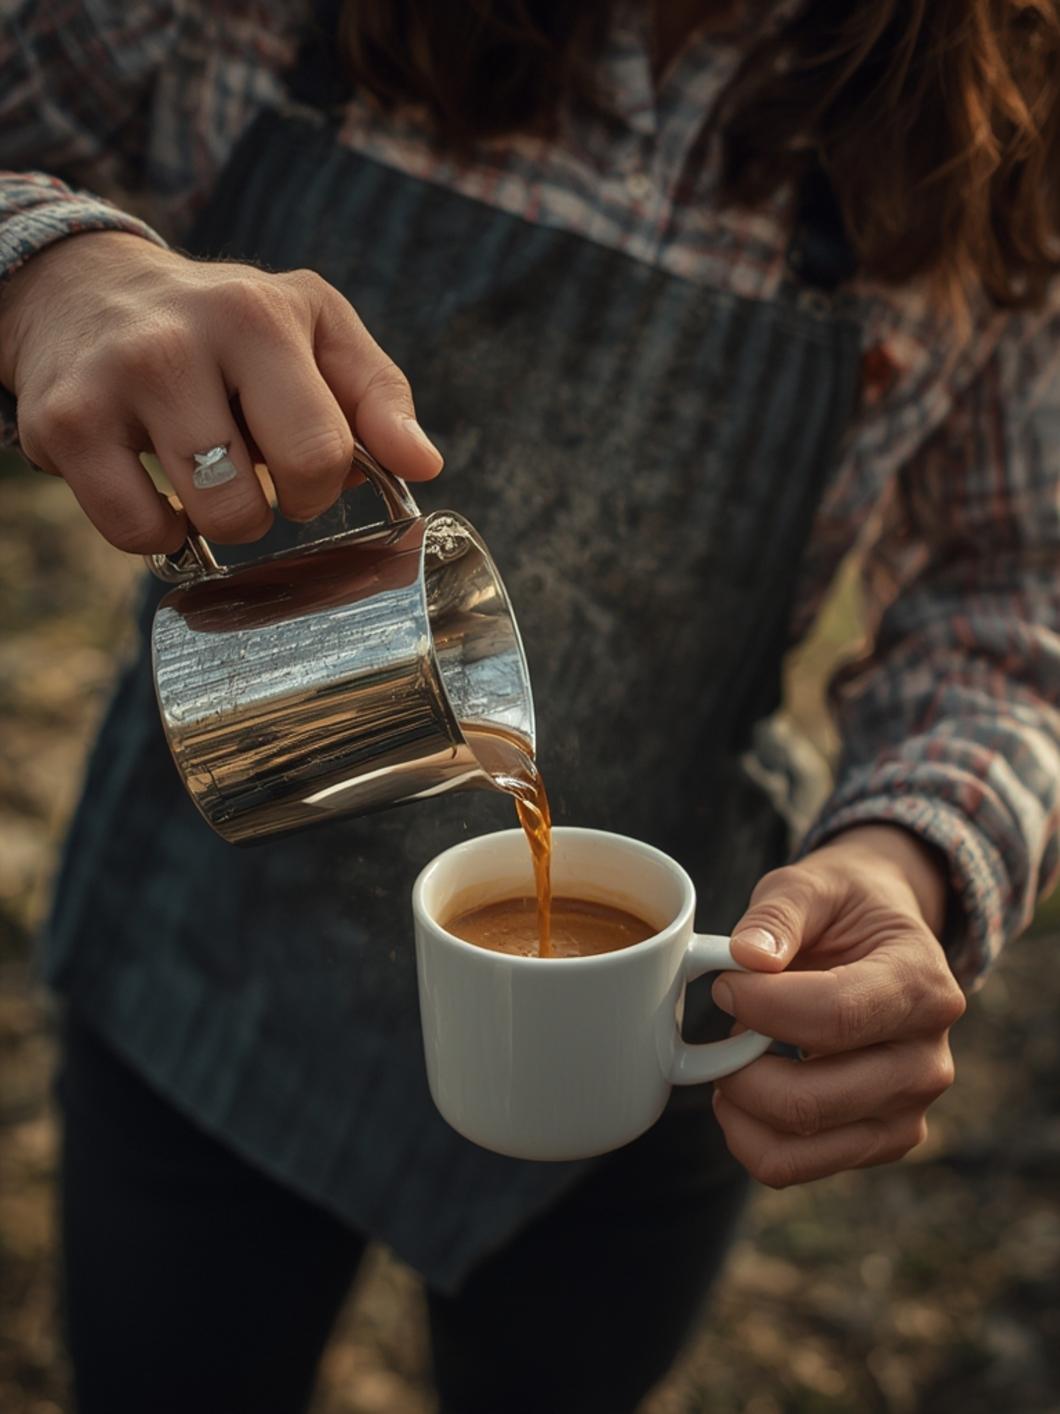
Step 1: Heat Your Water
Bring filtered water to 195-205°F (90-96°C). If you don’t have a thermometer, let boiling water rest for 30 seconds.
Step 2: Grind Your Beans
Measure 20-22 grams of beans for a single cup (roughly 12 ounces). Grind to medium-fine consistency, similar to sea salt texture.
Step 3: Prepare the Filter
Place the paper filter in your dripper and rinse thoroughly with hot water. This removes papery taste and preheats your vessel. Discard rinse water.
Step 4: Add Coffee Grounds
Place grounds in the filter and gently shake to level the bed. This ensures even water distribution during brewing.
Step 5: Bloom Phase
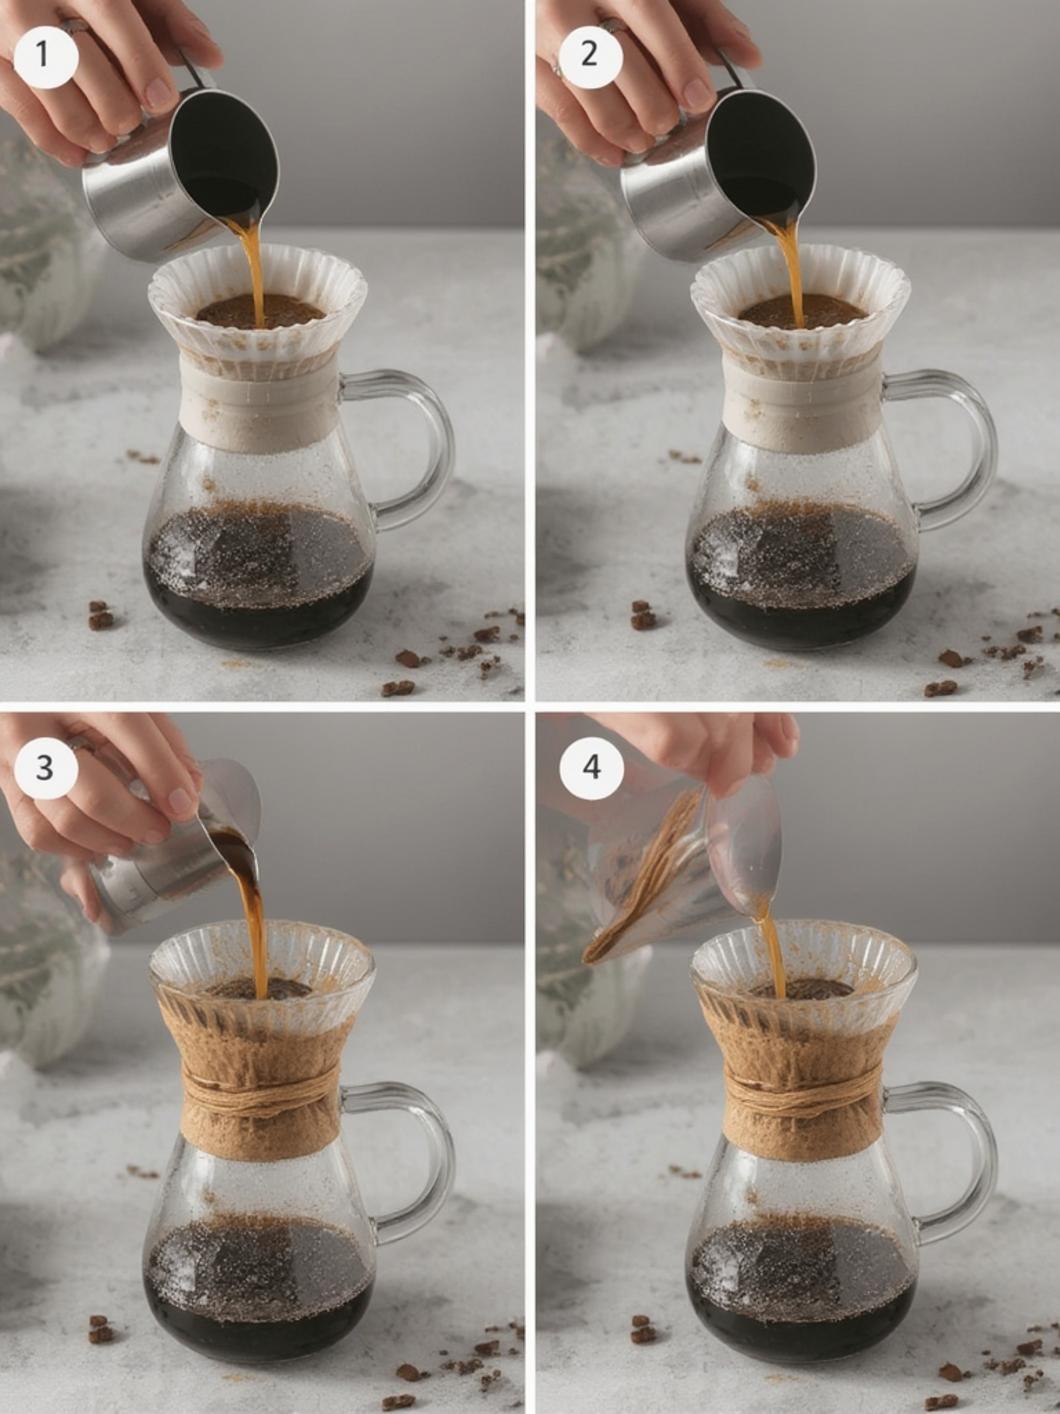
Understanding how to pour over coffee starts with the bloom. Pour 40-50 grams of water in circular motions, saturating all grounds. Wait 30-45 seconds while CO2 escapes.
Step 6: Main Pour
Using your perfected pour over coffee technique, pour in slow, steady circles from center outward. Maintain consistent water level, adding water every 15-20 seconds until reaching 340-360 grams total.
Step 7: Finish and Serve
Allow complete drainage (total time should be 3-4 minutes). Swirl the carafe gently and enjoy immediately.
—
Benefits / Advantages
Superior Flavor Profile
Pour over brewing highlights delicate flavor notes that automatic machines often miss. You’ll taste fruity, floral, and chocolate undertones more clearly.
Complete Control
Adjust water temperature, pour rate, and grind size to customize your perfect cup. This flexibility suits various bean origins and roast levels.
Cost-Effective Long Term
Quality pour over equipment lasts decades. You’ll save thousands compared to daily coffee shop visits.
Mindful Morning Ritual
The meditative process of manual brewing reduces stress and creates intentional morning moments. Many practitioners report improved focus throughout their day.
Environmentally Friendly
Paper filters are compostable, and you eliminate single-use cups and plastic lids entirely.
—
Tips, Alternative Methods, or Coffee Advice
French Press Alternative: Use coarser grounds and 4-minute steep time for fuller-bodied coffee when craving something different.
Cold Brew Variation: Double your coffee-to-water ratio and steep grounds in cold water for 12-24 hours in your refrigerator.
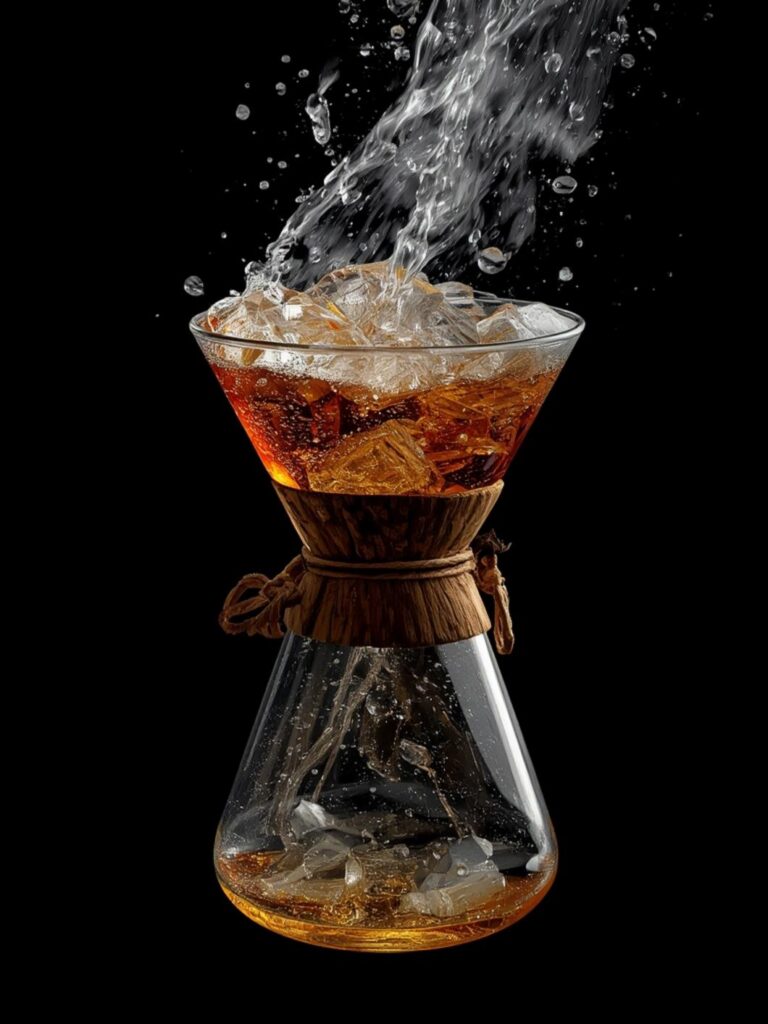
Iced Pour Over: Brew directly over ice using slightly stronger ratios (1:12 instead of 1:16) to compensate for dilution.
Small Kitchen Solution: Compact Hario V60 sizes take minimal counter space and store easily in cabinets.
Seasonal Flavoring: Add cinnamon to grounds before brewing for autumn warmth, or brew over vanilla-infused ice for summer refreshment.
—
Common Mistakes to Avoid
Mistake 1: Skipping the Bloom
Solution: Always allow 30-45 seconds bloom time for proper CO2 release and even extraction.
Mistake 2: Incorrect Grind Size
Solution: Adjust grinder settings—finer if brewing too fast, coarser if too slow.
Mistake 3: Inconsistent Pour Rate
Solution: Practice slow, circular motions. Rushing creates channeling and uneven extraction.
Mistake 4: Using Stale Beans
Solution: Purchase smaller quantities more frequently. Beans peak 7-21 days post-roast.
Mistake 5: Ignoring Water Quality
Solution: Use filtered water. Hard water or chlorine dramatically affects taste.
—
Storage / Maintenance Tips
Bean Storage:
Store whole beans in airtight containers away from light, heat, and moisture. Avoid refrigerator storage—temperature fluctuations cause condensation.
Ground Coffee:
Grind only what you need. Pre-ground coffee stales within hours. If necessary, store in airtight containers for maximum 1-2 weeks.
Equipment Maintenance:
Rinse drippers immediately after use. Deep clean weekly with mild soap. Descale kettles monthly with diluted vinegar solution.
Filter Storage:
Keep paper filters in dry locations. Humidity causes them to stick together and tear during use.
—
Conclusion
Mastering how to pour over coffee elevates your daily caffeine routine from simple consumption to artful craft. The investment in proper equipment and practice pays dividends in flavor, savings, and morning satisfaction.
With consistent application of proper pour over coffee technique, you’ll brew cups rivaling your favorite specialty coffee shop. Start tomorrow morning—your taste buds will thank you.
Ready to begin your pour over journey? Gather your supplies today and experience the difference manual brewing makes!
—
Once you have the steps down, dialing in your pour-over ratio is what actually separates a good cup from a great one.
FAQs
Q: What’s the ideal coffee-to-water ratio for pour over?
A: Start with 1:16 ratio (1 gram coffee to 16 grams water). Adjust stronger (1:14) or lighter (1:17) based on personal preference.
Q: Can I use regular kettle instead of gooseneck?
A: Yes, though control suffers significantly. Pour very slowly and consider upgrading eventually for better results.
Q: How long do pour over drippers last?
A: Ceramic and glass drippers last indefinitely with proper care. Plastic versions should be replaced every 2-3 years.
Q: Why does my pour over taste bitter?
A: Likely over-extraction from too-fine grind, too-hot water, or excessive brew time. Adjust one variable at a time.
Q: Is pour over coffee stronger than drip coffee?
A: Not necessarily. Strength depends on your coffee-to-water ratio, not brewing method. Pour over typically tastes cleaner and more complex.